Hoping to get more use out of your garden? Whilst we all enjoy spending time outdoors on hot summer days, our gardens can be a bit neglected throughout the rest of the year. However, with a dedicated fire pit area, you’ll have somewhere warm and inviting to relax even on chilly evenings. Plus, a stylish fire pit space makes the perfect area to entertain guests, dine al fresco, or simply elevate the overall appearance of your garden.
Creating a beautiful fire pit area is easier than you might think. All you need to do is plan out your fire pit placement and seating arrangements, and then choose the right garden furniture to bring your vision to life. Follow our step-by-step guide to create a luxury fire pit area in no time.
1. Set out your fire pit area
The first step is to mark out the area you want to place your fire pit and the seating around it. For the general placement of the fire pit seating area, make sure you leave an appropriate distance between your home and fire pit area for safety reasons. If you have any structures in your garden, such as wooden garden sheds or wooden fences, it’s very important that you maintain a safe distance from them too. We would recommend no less than 10 feet or 3 metres to stay on the safe side.
You also need to consider the spacing between the fire pit and the garden furniture around it. You need at least 3 feet between your fire pit and any outdoor chairs, benches or sofas around it. This furniture layout will reduce the risk of accidental fires whilst still allowing your seating area to benefit from the fire pit’s outdoor heating.
Finally, remember to consider extra details like proximity to water sources. If your fire pit area is reasonably close to a garden hose or water feature, this will be highly beneficial if an accident does occur. Mark out your measurements with a shovel, chalk or tape depending on the material you’re working with (e.g. grass, stone or wood).
2. Choose a décor style
Once these technical details are sorted, you can move on to the fun part. It’s time to get the creative part of your brain in gear and start thinking about how you’re going to coordinate the style of your fire pit seating area. To elevate your fire pit seating area from basic to luxury, you need a cohesive theme to tie all of the elements together. Plus, choosing a style will make it easier for you to pick out the right garden furniture and decorative pieces.
Think about the type of ambience you want to create in your garden and how this will fit with the overall aesthetic of your home. For example, do you have a modern, sleek and minimalist interior design style and want to carry this through to your outdoor space with contemporary garden furniture? Or do you prefer a traditional approach with classic rattan garden furniture that offers a timeless appeal? Rustic outdoor styles have also been popular in recent times as a way to make outdoor spaces feel homely and comfortable, especially when paired with natural touches that blur the lines between indoor living and the great outdoors – such as living plant walls and wild landscaping.
3. Pick a fire pit
Next, you can pick out a fire pit that matches your stylistic vision. Rustic brick fire pits are fantastic for natural and traditional decor styles, whilst simple shapes and monochrome designs are a must for lovers of modern furniture. For a minimalist approach, you can find multi-functional fire pit tables, with the fire pit’s surround doubling as a table for outdoor dining and drinks – perfect for those who want to reduce the number of different pieces of furniture in their outdoor seating area, especially if they’re making the most of a smaller space.
Here at Alexander Francis, our smokeless fire pits are inspired by the shapes and forms of traditional pottery, creating a sleek, modern silhouette with natural-looking materials to perfectly complement any garden or décor style. We also boast an array of fire pit tables for dining and drinks, plus a refreshing and contemporary twist on the traditional campfire with our Stix bioethanol fire pit.
4. Arrange complementary furniture
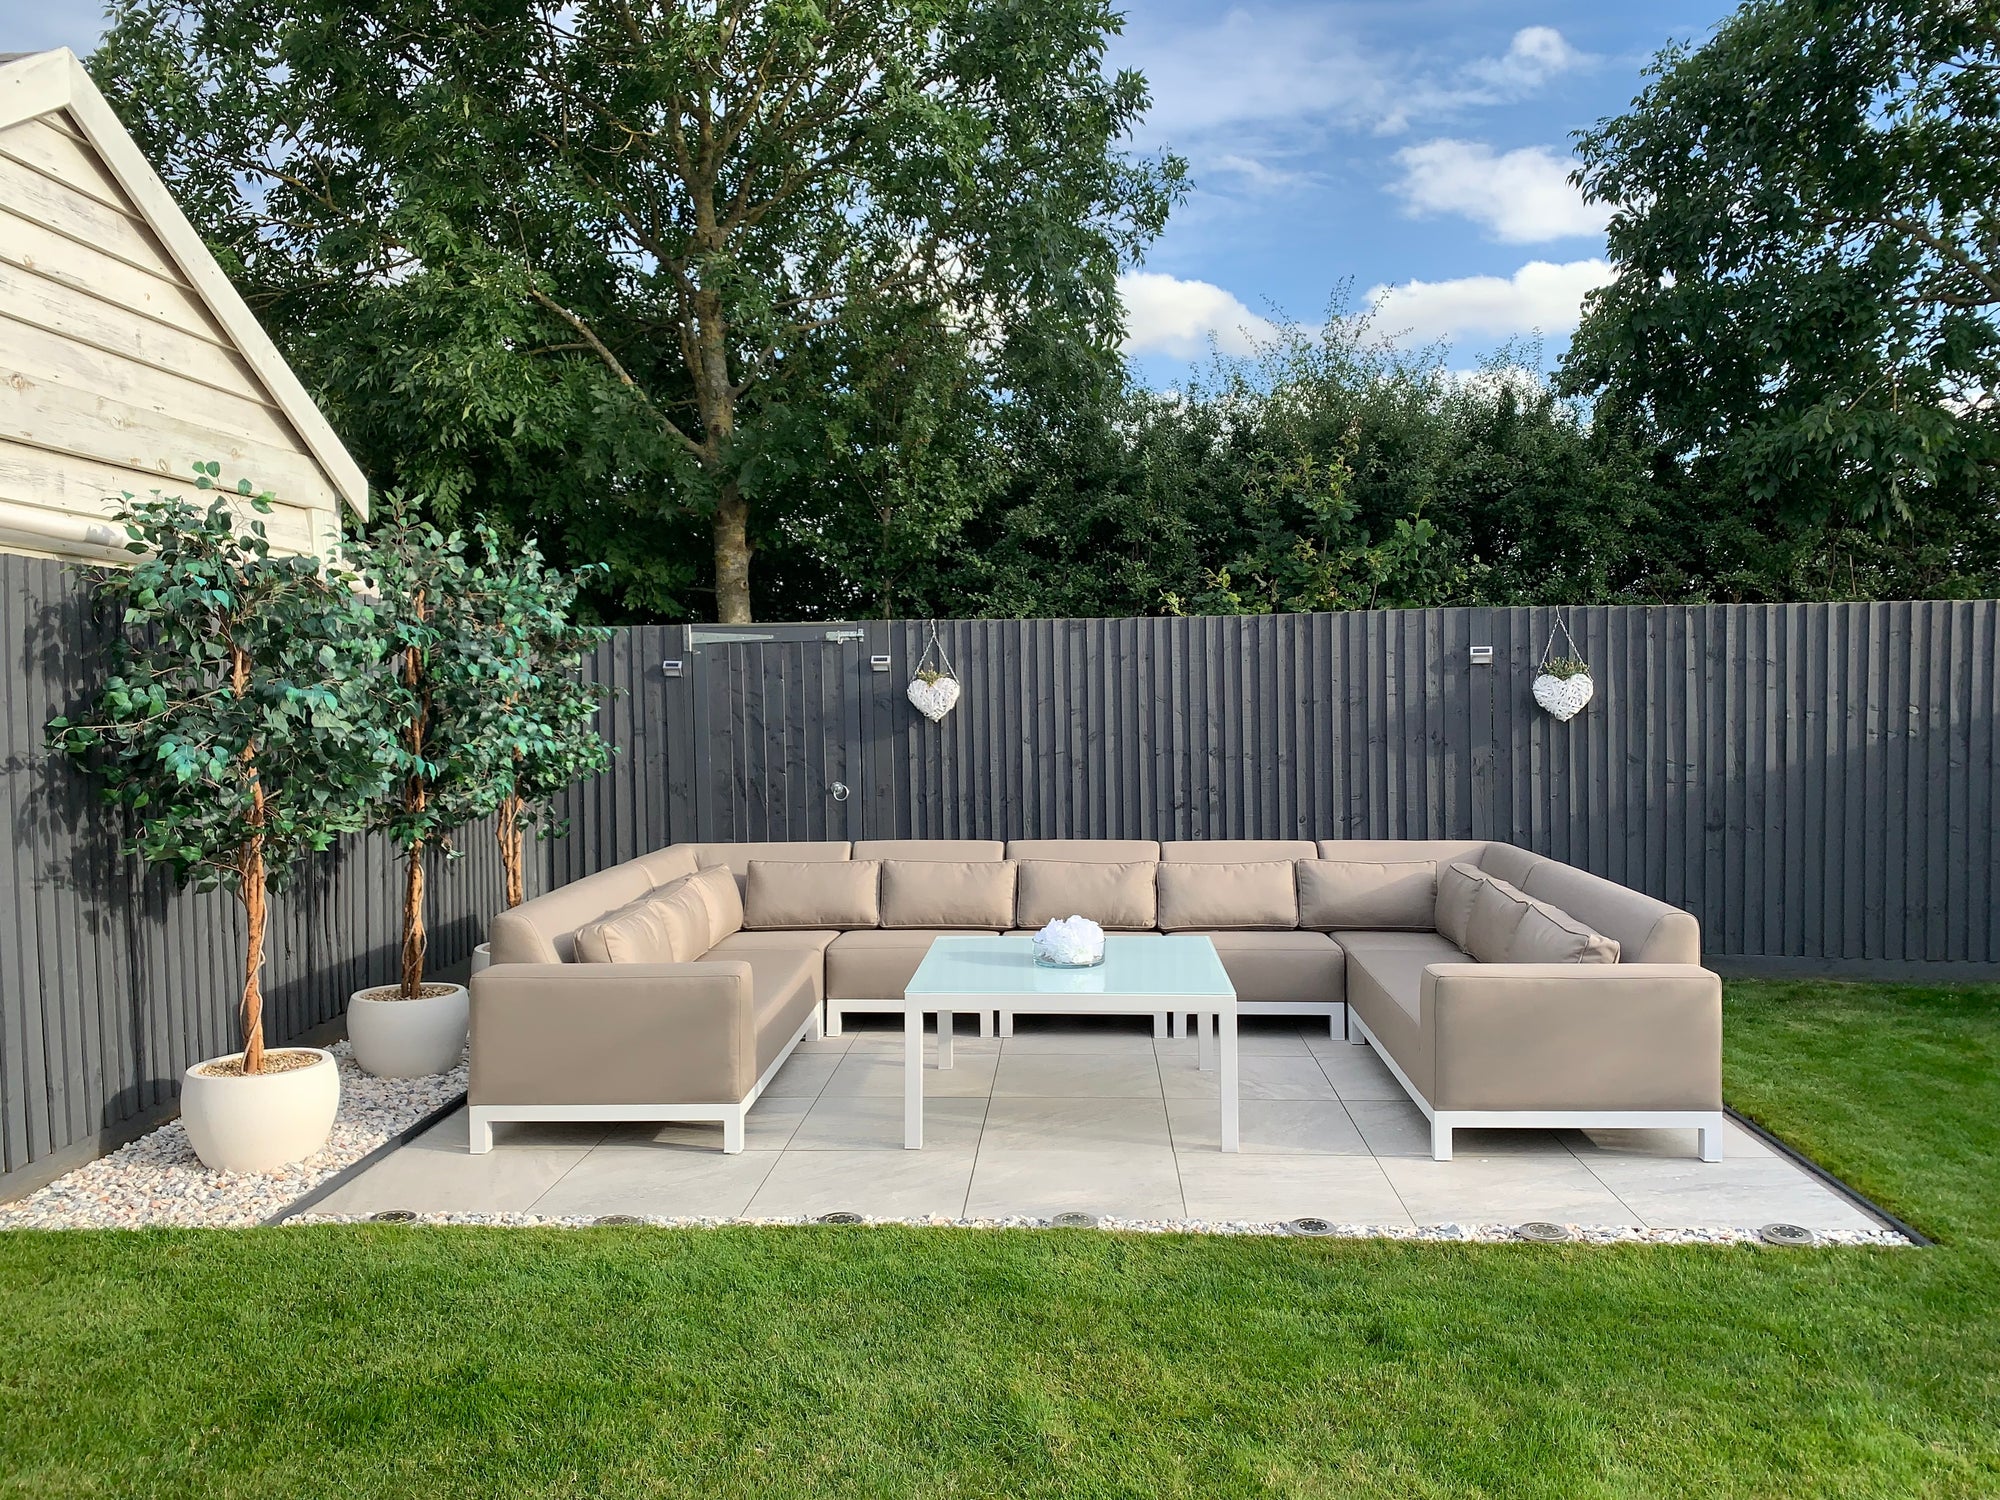
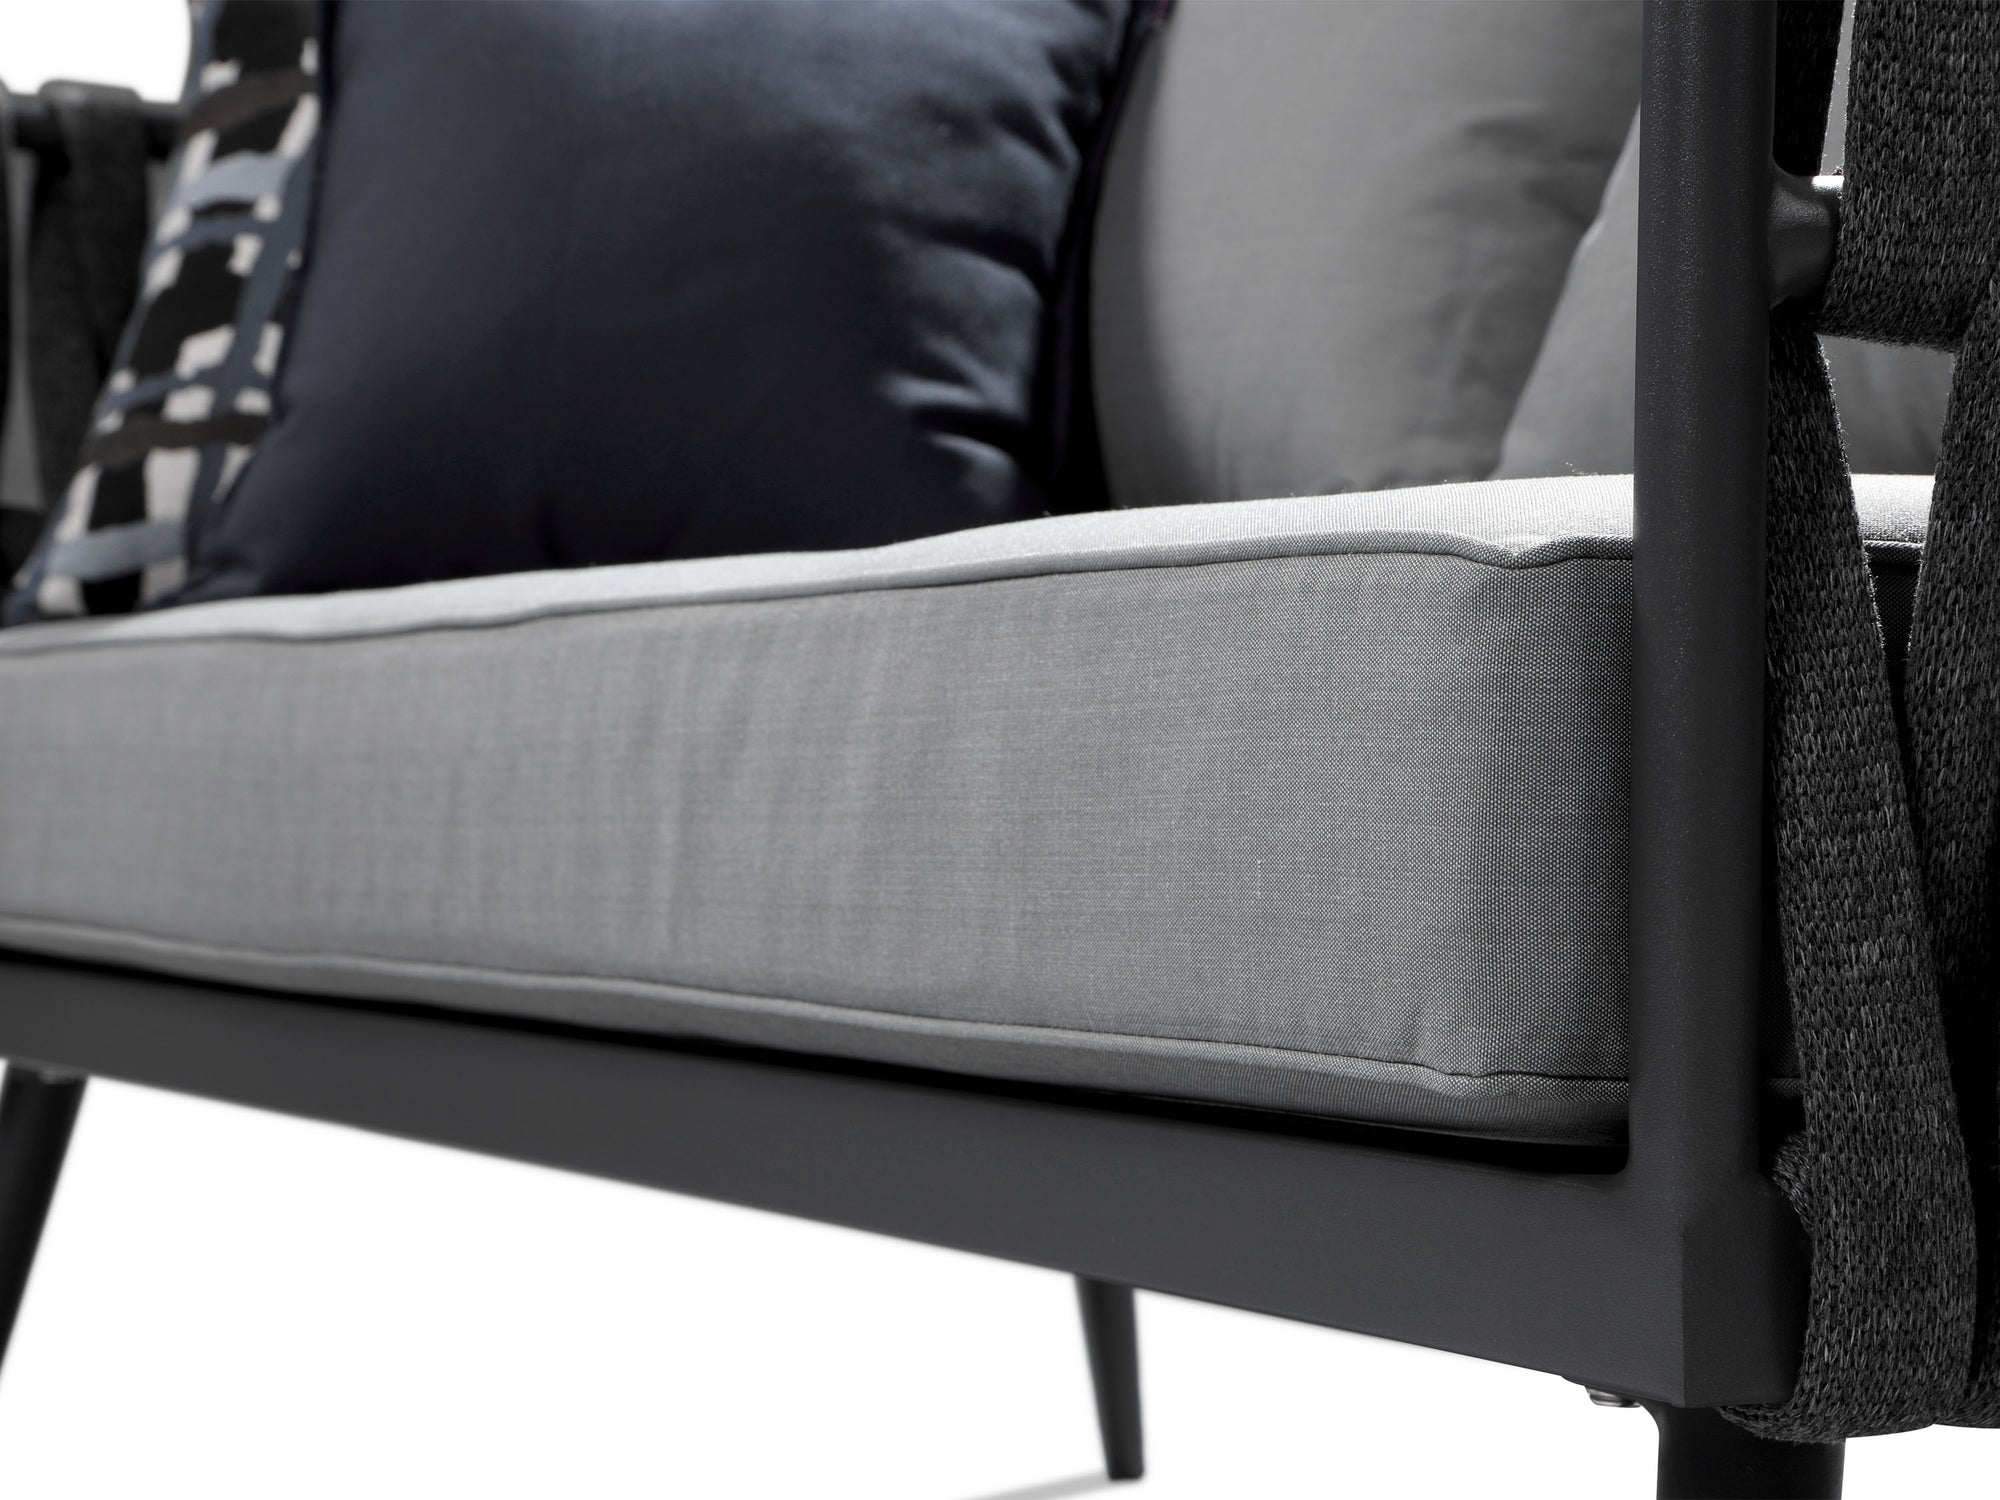
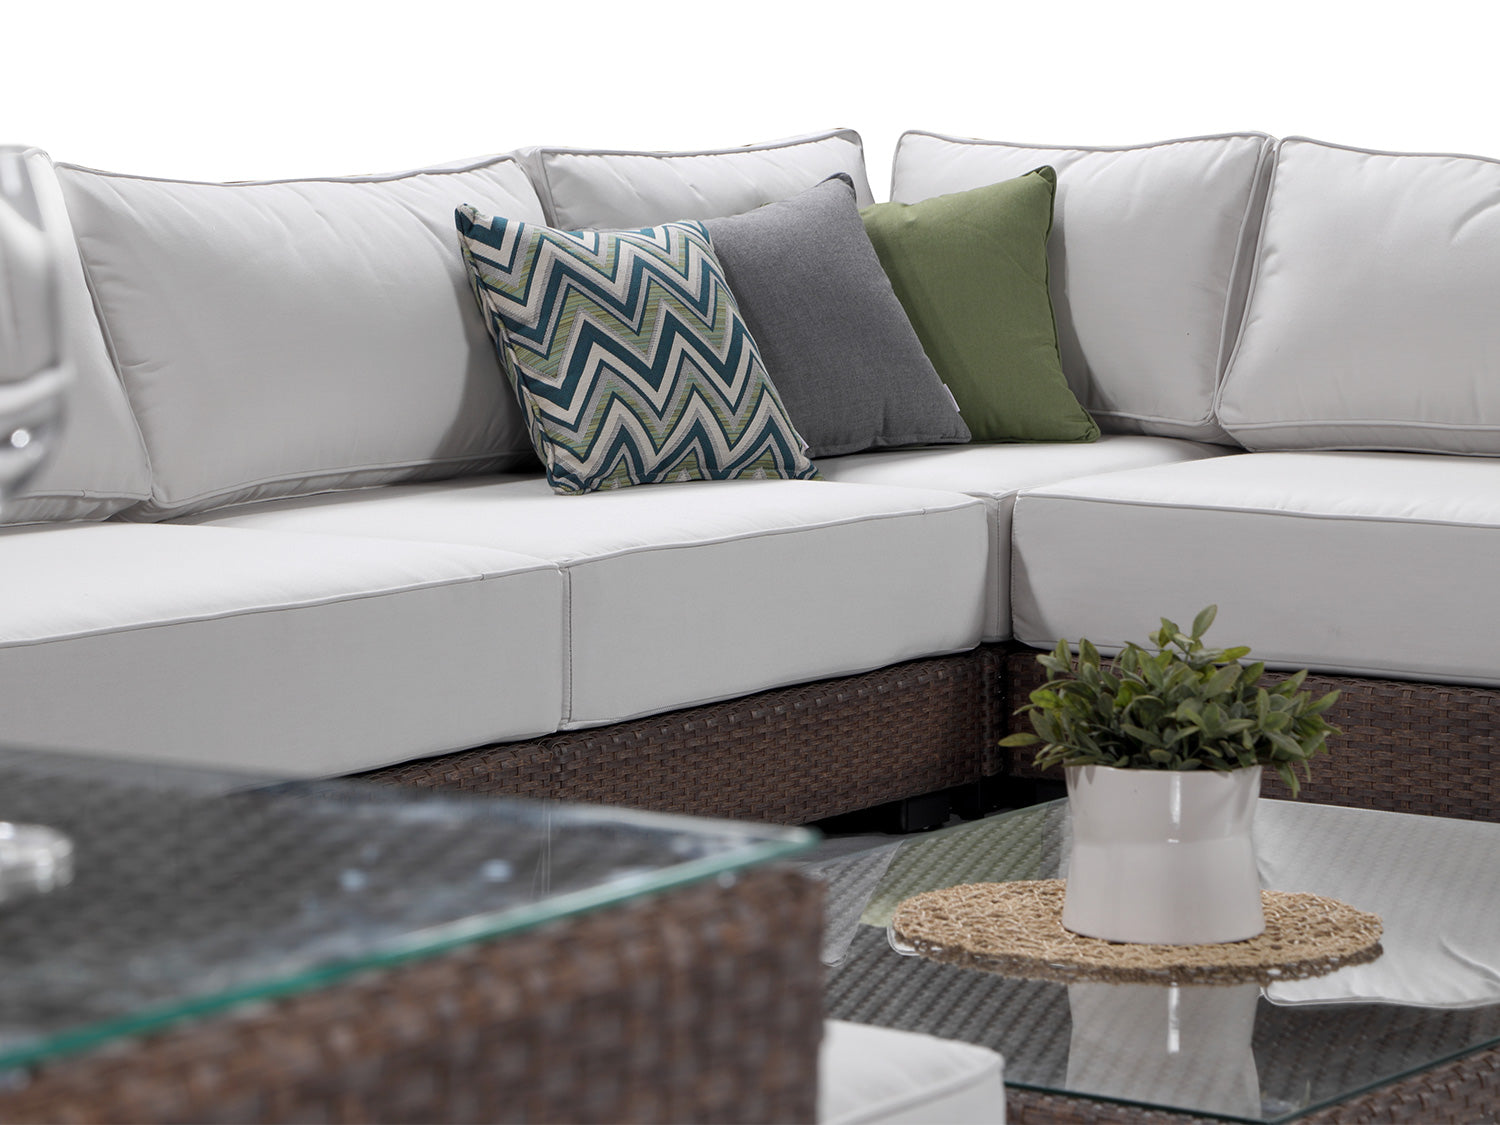
After your centrepiece is in place, you can start choosing the right garden furniture to complement your new fire pit. For instance, traditional wicker and rattan garden furniture would go extremely well with a DIY brick fire pit or one of our pottery-inspired bowl fire pits. Contemporary metal garden furniture or weather-resistant PE rattan furniture would be ideal for our modern rectangular fire pits and fire pit tables, or even our Stix fire pit if you’re looking for something unique to impress your guests.
Depending on what you want to use your fire pit area for, you can choose from a wide range of furniture types on the Alexander Francis website. Want a space where you can relax, sunbathe or curl up with a good book? Our daybeds and sun loungers would be ideal for you, and there are plenty of colours and styles to choose from to complement the rest of your garden. Hoping to entertain more guests outdoors now that you have an outdoor heating solution? Make sure you’ve got plenty of soft seating and a dining set to keep everyone comfortable.
Don’t forget to complete your outdoor seating area with decorative touches like seating covers and scatter cushions to show off your personal style. We would also recommend investing in some winter covers for your garden furniture to keep it in excellent condition all year round. Our winter covers are UV and tear-resistant, ensuring that your outdoor furniture can be used and loved for many years to come.
5. Add finishing touches
In addition to scatter cushions and other furniture accessories like drinks trolleys, you also need to consider other finishing touches such as lighting, plant pots and other decorative items. Candles are brilliant for creating a cosy and intimate atmosphere, and will complement the glow of your lit fire pit very nicely. A similar effect can be created with warm-toned fairy lights and festoon lighting, which are also very suitable for outdoor parties and gatherings.
If you want to bring the natural world into your garden seating area to blur the line between indoor and outdoor living, you should definitely add some plant pots to this space to liven it up with some greenery. However, remember to keep these plants well away from open flames.
A living plant wall or screen is a fantastic way to add more natural elements to your fire pit seating area whilst also improving privacy in your garden. If your garden is overlooked and you’re worried about sunbathing or entertaining guests, you can easily put up this screen and add climbing plants like ivy or climbing hydrangea to fill in the gaps. Plus, this will also be a great project if you’re a keen gardener.
How to build your own fire pit
The easiest and quickest way to create a fire pit area is to buy a ready-made fire pit from a garden furniture retailer like Alexander Francis. When you order a fire pit from us, you’ll also get free eco-friendly bioethanol fuel, so you can start using your new outdoor heating solution as soon as you’ve placed it in your garden seating area.
However, if you like to get creative and do things yourself, you can absolutely build your own fire pit. This is also a great way to use up extra materials if you have some bricks or stones left over from a previous DIY project. Just make sure you don’t use river rocks or porous stone like limestone or sandstone to build a fire pit, as these wet and porous rocks can potentially explode when they reach high temperatures. Only use standard clay bricks and hard, non-combustible rocks like granite, marble or slate.
To build a fire pit in the ground, follow these simple steps:
1. Mark out your fire pit and take measurements
Lay out your bricks in the shape you want and mark out your fire pit by sinking your shovel into the grass around the bricks. Then, stack one of your bricks or stone blocks on top of another and measure the combined height – this is the measurement you’ll use for the depth of the pit.
2. Dig the pit
Within the marked area, dig a hole to the depth of the measurement you just took. When you’re done, flatten the soil to create a level base.
You also need to dig out an inclined channel coming out of the pit – this is where you’ll place a ventilation tube. One of the bricks or blocks on the bottom layer of the pit will need to have a hole to let the tube through.
3. Add your materials
Add a layer of sub base (crushed aggregate material) to the bottom of the pit and flatten it. Then, add a layer of concrete on top before placing your bricks or blocks in position. Make sure the brick with a hole is in the right place to feed the ventilation tube through. Complete the structure by adding more concrete and then placing another layer of bricks or blocks on top.
4. Finishing touches
Fill in the gaps around the outside of the structure with soil once the concrete has dried. Next, add gravel or stone chippings to the fire pit until they reach the bottom of the ventilation hole. To finish off the structure, place coping stones around the top. Now you have your very own fire pit, which you can pair with outdoor seating to create a cosy and inviting fire pit seating area.
Fire pit ideas and tips
Remember that you can experiment with the shape and style of your fire pit to make it truly your own. Circular, square and rectangular fire pits are the easiest to build, but if you’re feeling up to the challenge, you can try out a unique shape like an asymmetrical fire pit. For this design, you’ll start out with a regular circular fire pit and then add more bricks to one side, so that the bricks taper up to a higher point. This has the added benefit of acting as a windbreak, so if you tend to get strong winds from one direction in your garden, this design could help you keep the fire burning.
The instructions above are for a permanent fire pit structure built into your garden, but if you want a portable fire pit that’s even easier to set up, you can use materials like old washing machine drums or kegs to create a simple DIY fire pit. Just make sure there’s no plastic or flammable material present.
However, bear in mind that while a DIY fire pit that’s built into your garden or made from reclaimed material will initially be cheaper, ongoing maintenance issues could be time-consuming or costly to solve. If you want a more long-lasting and aesthetically pleasing fire pit, it’s best to purchase a ready-made one instead. Plus, this will be much quicker and easier to set up in your garden.
Interested in revamping your garden? Gather more luxury garden inspiration from the Alexander Francis blog, and check out our extensive range of contemporary, high-quality garden furniture to get everything you need for the ultimate garden transformation.


